How to install/setup wordpress
How to delete duplicate data/Entry in database using phpmyadmin
November 16, 2018
Best Software Development Company in Banswara
July 3, 2019
Step 1 : Installing XAMPP
Go to the Apache Friends website and download XAMPP.

The XAMPP setup wizard will guide you through the installation. Click Next.

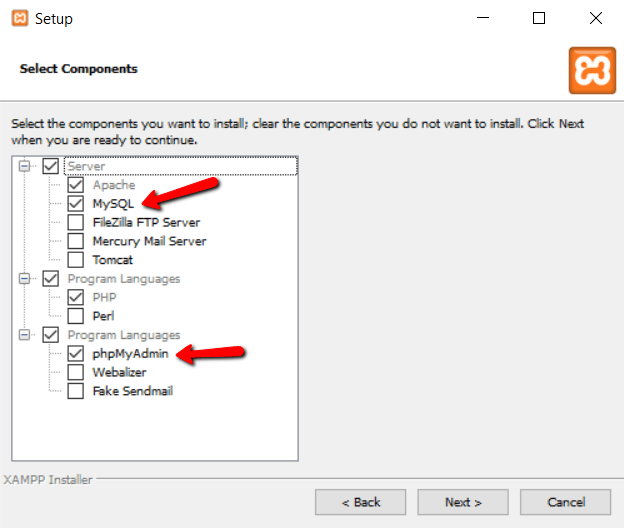
It's up to you which components you need to install. Since we need to run WordPress in our localhost condition,
leave MySQL and phpMyAdmin checked and uncheck the rest of the alternatives.
Next, select the folder where you might want to install XAMPP on your machine.
I’m going to create a new folder in C:\XAMPP
Click Next

Since we are going to install WordPress manually click on next.
click next , finally ready to install

install , Leave this option ticked and click on finish. Start Apache & MySQL from the list
Running XAMPP
Both services are running fine

Step 2: phpMyAdmin
To start phpMyAdmin we need to open our web browser and write localhost/phpmyadmin in url bar, the below screen will be shown.

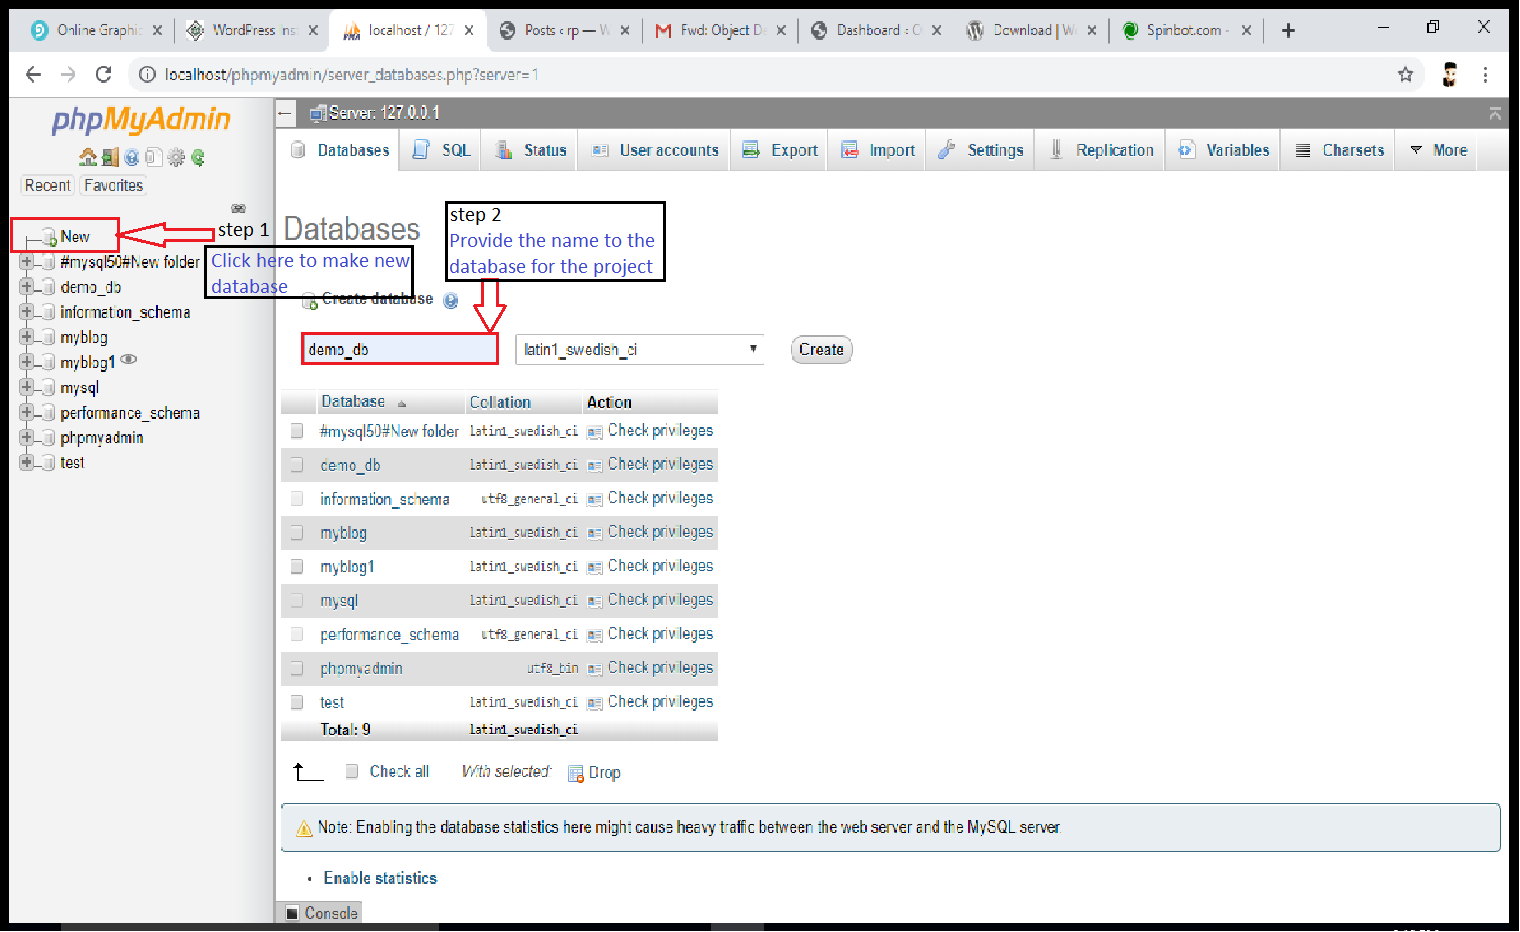
Step 3: Create Database
For creating database Follow the image below:-

2. Extract the downloaded WordPress folder in xampp folder which we made at the time of installation of xampp.

Step 5: Setup configuration
Now we can get on with actually installation process of wordpress. Open your browser and go to
http://localhost/yourprojectname/wp-admin
Once you have chosen your language continue onto the next screen and enter your database username and password details.

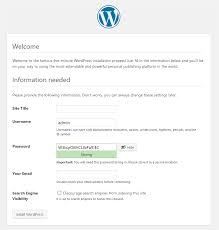
Step 6: Run the install

Step 7:
After installation being successful, you will get a screen of the stating success as seen in the screen.
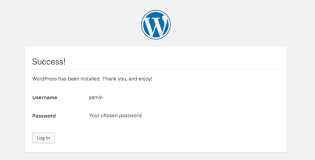
log in .
#Web development company in udaipur #Software development company in udaipur #Web design company in Udaipur #Digital Marketing Company in Udaipur #Best SEO Company in Udaipur #Travel Management System Software Company in Udaipur #Online Exam Portal Software Company in Udaipur #Inventory Management Software Company in Udaipur #Hotel Management System Software Development Company in Udaipur


